As developers, we're constantly seeking ways to enhance our projects with cutting-edge technology. Artificial Intelligence, particularly large language models (LLMs), offers immense potential. Google's Gemini family of models stands out for its advanced capabilities. For those looking to experiment or build without immediate budget constraints, understanding how to utilize the free tier of Gemini is crucial.
This post will walk you through the essentials of integrating Gemini's free model into your projects, focusing on practical implementation for full-stack developers leveraging technologies like Node.js and Next.js.
Understanding Gemini Free Tier Access
Google offers access to certain Gemini models through its AI Studio and the Vertex AI platform. For development and experimentation, the free tier is often sufficient. It typically provides a generous quota of requests, allowing you to test features, build prototypes, and even deploy small-scale applications.
It's important to check the current terms and quotas provided by Google Cloud for the most up-to-date information. Generally, free access is tied to specific models and usage limits. For most individual developers and small projects, these limits are quite accommodating.
Getting Started: API Keys and Setup
To interact with Gemini, you'll need an API key. The easiest way to obtain one for free tier usage is through Google AI Studio.
- Visit Google AI Studio: Go to aistudio.google.com and sign in with your Google account.
- Create an API Key: Navigate to the API key management section. You should be able to generate a new API key there. Keep this key secure – it's your credential to access the Gemini API.
- Set Up Your Environment: For Node.js projects, you'll want to install the official Google Generative AI SDK.
npm install @google/generative-ai
# or
yarn add @google/generative-ai
Store your API key securely. Never hardcode it directly into your client-side code or commit it to version control. Environment variables are the standard practice.
For a Node.js backend, you can use dotenv:
npm install dotenv
Then, create a .env file in your project root:
GOOGLE_API_KEY=YOUR_GENERATED_API_KEY
And load it in your main application file (e.g., server.js or app.js):
require('dotenv').config();
const API_KEY = process.env.GOOGLE_API_KEY;
Integrating Gemini into a Node.js Application
Let's build a simple Node.js service that takes a prompt and returns a Gemini-generated response.
First, initialize the Generative AI client:
// Assuming you have dotenv configured and API_KEY is loaded
const { GoogleGenerativeAI } = require('@google/generative-ai');

const genAI = new GoogleGenerativeAI(API_KEY);
Now, let's create a function to interact with a Gemini model, for example, gemini-pro:
async function generateContent(prompt) {
// For text-only input, use the gemini-pro model
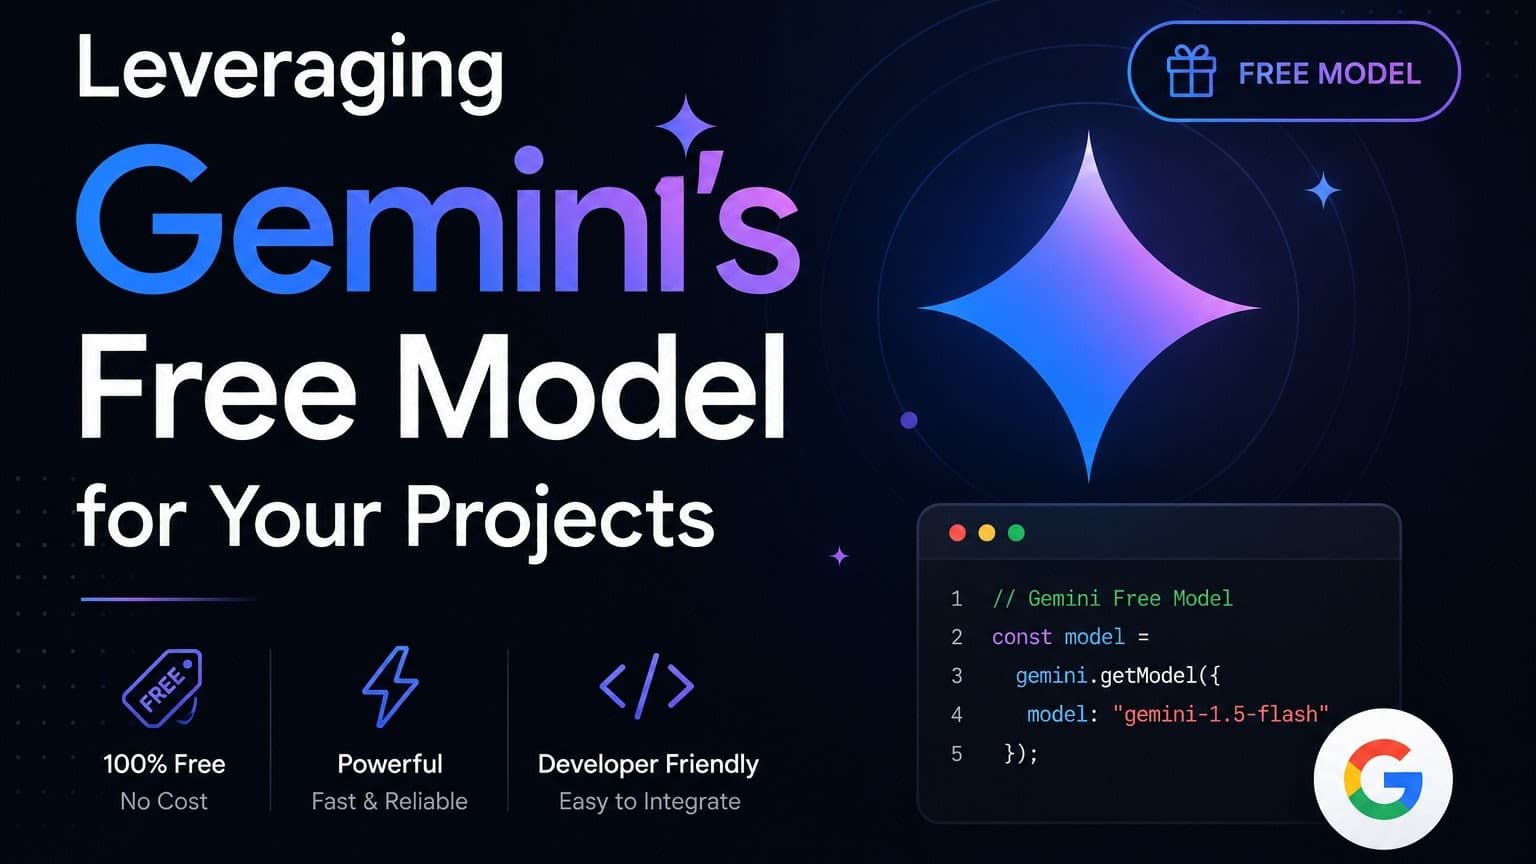
const model = genAI.getGenerativeModel({ model: "gemini-pro" });
const result = await model.generateContent(prompt);
const response = await result.response;
const text = response.text();
return text;
}
// Example usage in an Express.js route:
// app.post('/generate', async (req, res) => {
// const { prompt } = req.body;
// try {
// const generatedText = await generateContent(prompt);
// res.json({ response: generatedText });
// } catch (error) {
// console.error("Error generating content:", error);
// res.status(500).json({ error: "Failed to generate content" });
// }
// });
Key Concepts:
GoogleGenerativeAI: The main client class to interact with the API.getGenerativeModel({ model: "gemini-pro" }): Selects the specific Gemini model you want to use.gemini-prois a good starting point for text generation and is often included in the free tier.generateContent(prompt): Sends your text prompt to the model.result.response.text(): Extracts the generated text from the model's response.
Using Gemini in a Next.js Application
For Next.js applications, you'll typically want to handle AI requests on the server-side to protect your API key. This can be done using API Routes.
-
Create an API Route: Inside your
pages/api/directory, create a file likegenerate.js.// pages/api/generate.js import { GoogleGenerativeAI } from '@google/generative-ai'; export default async function handler(req, res) { if (req.method !== 'POST') { return res.status(405).json({ message: 'Method Not Allowed' }); } const { prompt } = req.body; if (!prompt) { return res.status(400).json({ message: 'Prompt is required' }); } // IMPORTANT: Use environment variables for API key on the server! const apiKey = process.env.GOOGLE_API_KEY; if (!apiKey) { console.error('GOOGLE_API_KEY not set in environment variables.'); return res.status(500).json({ message: 'Server configuration error' }); } try { const genAI = new GoogleGenerativeAI(apiKey); const model = genAI.getGenerativeModel({ model: "gemini-pro" }); const result = await model.generateContent(prompt); const response = await result.response; const text = response.text(); res.status(200).json({ response: text }); } catch (error) { console.error('Error calling Gemini API:', error); res.status(500).json({ message: 'Failed to generate content from AI' }); } } -
Set Environment Variable: Ensure
GOOGLE_API_KEYis set in your Next.js project's.env.localfile for local development, and configured properly in your deployment environment (e.g., Vercel).# .env.local GOOGLE_API_KEY=YOUR_GENERATED_API_KEY -
Call the API Route from Your Frontend: You can now fetch data from this API route from any React component.
// Example in a React component using fetch
async function callGeminiApi(userPrompt) {
  try {
    const response = await fetch('/api/generate', {
      method: 'POST',
      headers: {
        'Content-Type': 'application/json',
      },
      body: JSON.stringify({ prompt: userPrompt }),
    });

    if (!response.ok) {
      const errorData = await response.json();
      throw new Error(errorData.message || 'API request failed');
    }

    const data = await response.json();
    return data.response;
  } catch (error) {
    console.error('Error calling Gemini API:', error);
    return 'An error occurred.';
  }
}
This approach keeps your API key server-side, preventing exposure to the client.
Advanced Use Cases and Considerations
While the gemini-pro model is excellent for many text-based tasks, Gemini offers other models and features:
- Multimodal Capabilities: Newer Gemini models (like Gemini Pro Vision) support image and video input. Accessing these might require different endpoints or SDK configurations and could have different free tier allowances. Always check the documentation.
- Chat History: For conversational AI, you'll want to maintain chat history. The SDK provides methods for this, allowing the model to understand context across multiple turns.
async function chatWithGemini(userMessage) { const model = genAI.getGenerativeModel({ model: "gemini-pro" }); const chat = model.startChat({ history: [ // Previous messages can be added here to provide context // { role: "user", parts: [{ text: "Hello, who are you?" }] }, // { role: "model", parts: [{ text: "I am a large language model, trained by Google." }] }, ], // generationConfig: { ... }, // Optional configuration }); const result = await chat.sendMessage(userMessage); const response = await result.response; return response.text(); } - Safety Settings: Gemini includes safety features to filter harmful content. You can configure these settings to balance safety and response generation.
- Rate Limiting: Be mindful of the free tier's request limits. Implement appropriate error handling and retry mechanisms, potentially with exponential backoff, for production scenarios.
- Cost Management: Even with the free tier, it's wise to monitor your usage. As your project scales, you might eventually need to consider paid tiers. Understanding the pricing model beforehand is beneficial.
Conclusion
Integrating powerful AI models like Gemini into your projects no longer requires significant upfront investment. By leveraging the free tier access through Google AI Studio and the robust SDKs, developers can unlock a new level of intelligence for their applications. Whether you're building a content generation tool, a chatbot, or an analytical assistant, Gemini provides a powerful and accessible foundation. Remember to prioritize API key security, handle responses gracefully, and stay aware of usage limits as you scale.
Start experimenting today and see how Gemini can transform your development workflow!