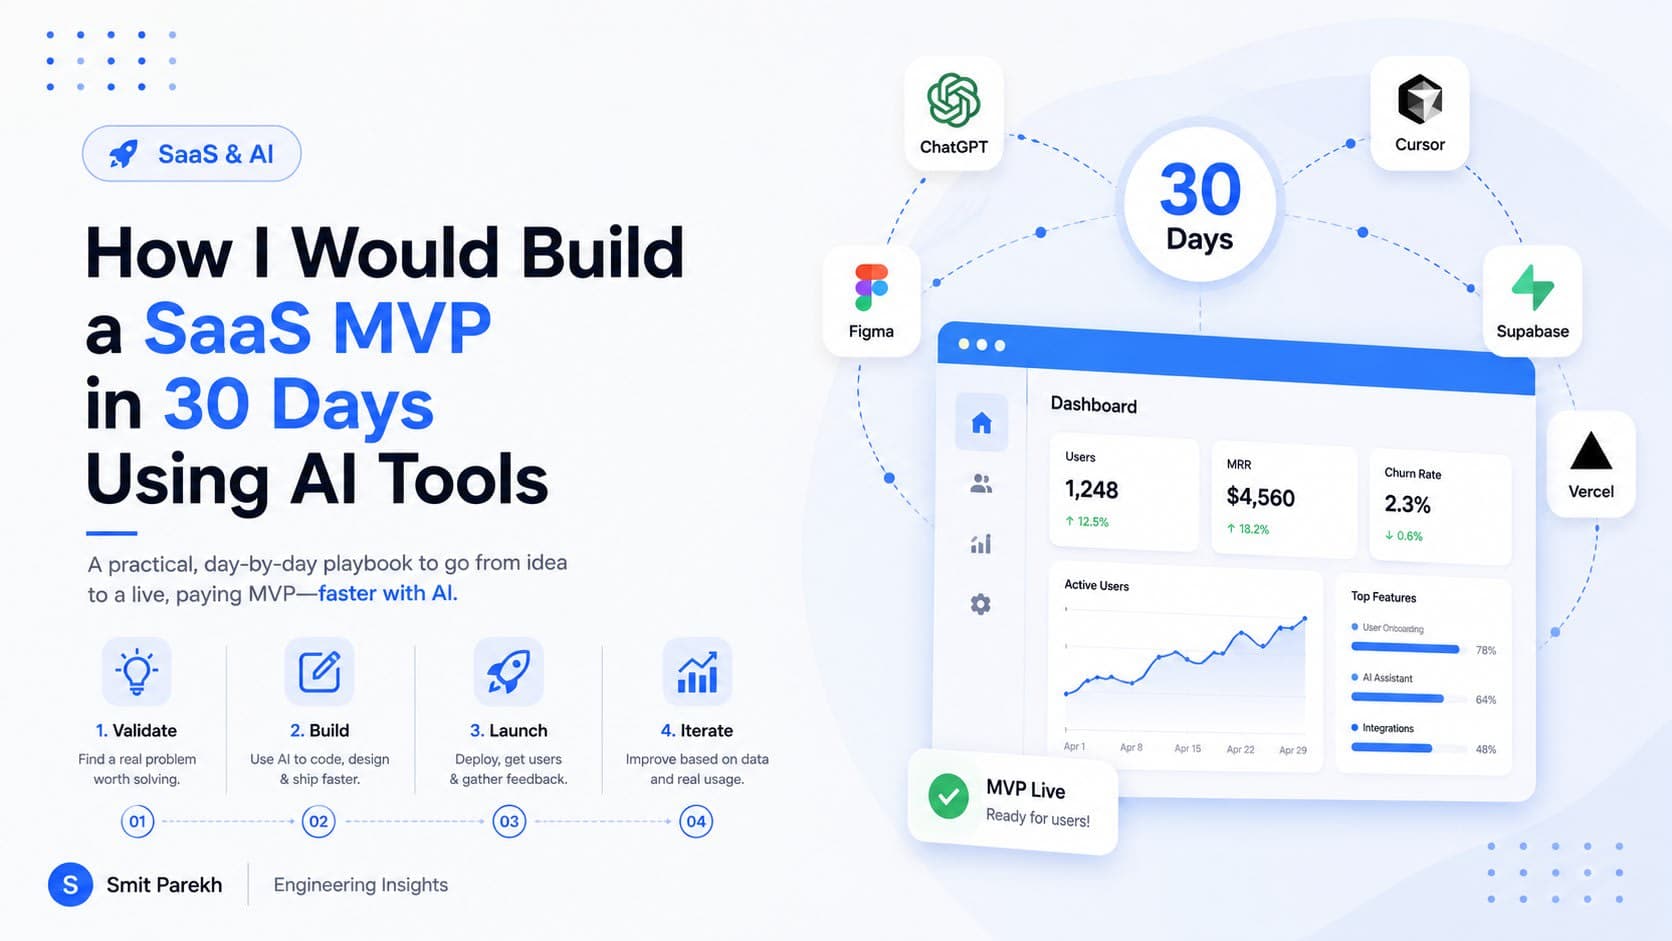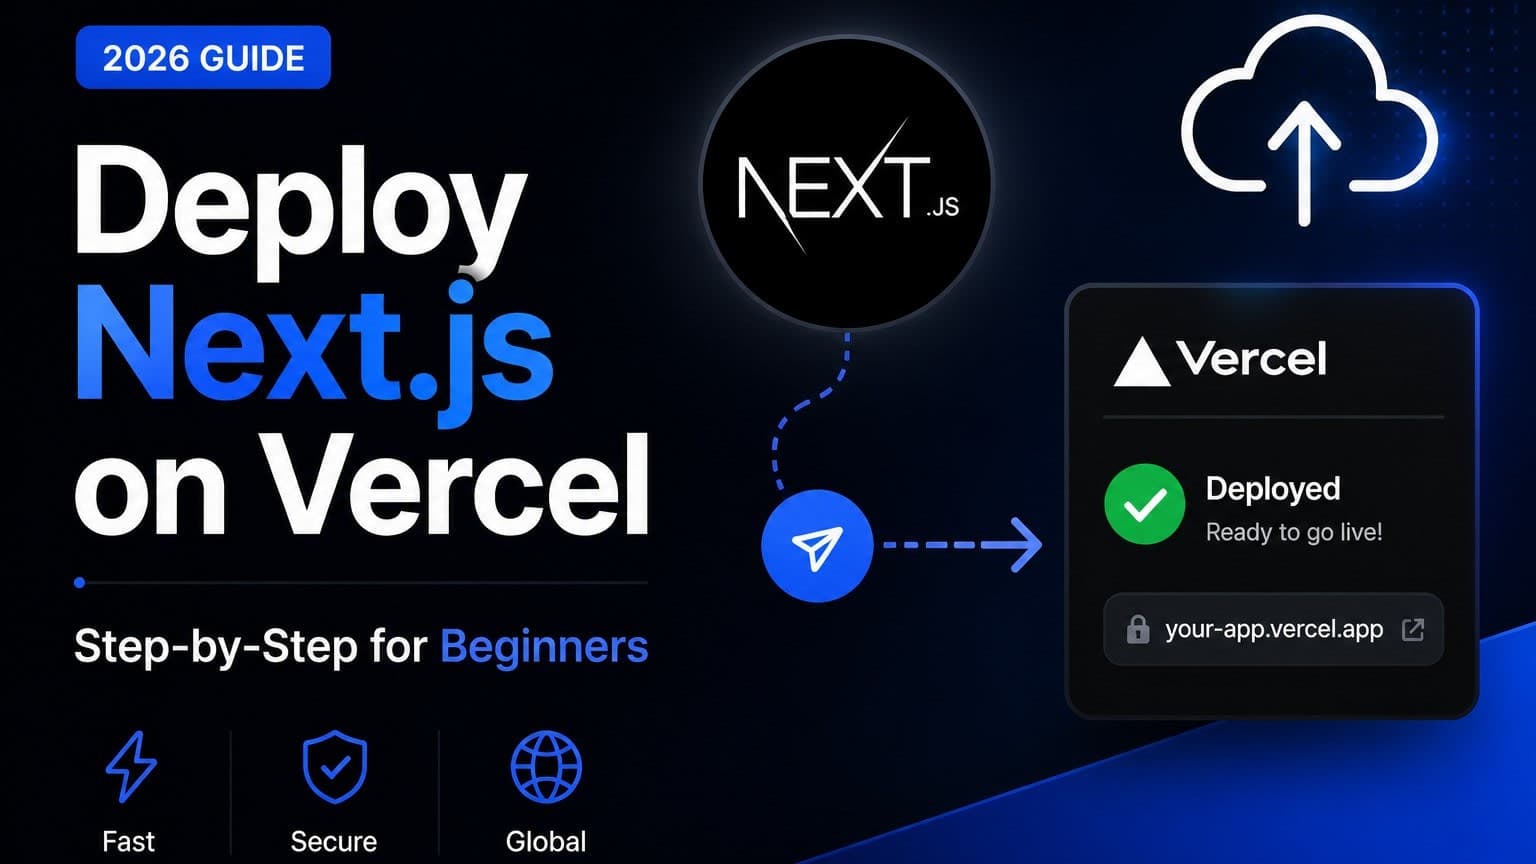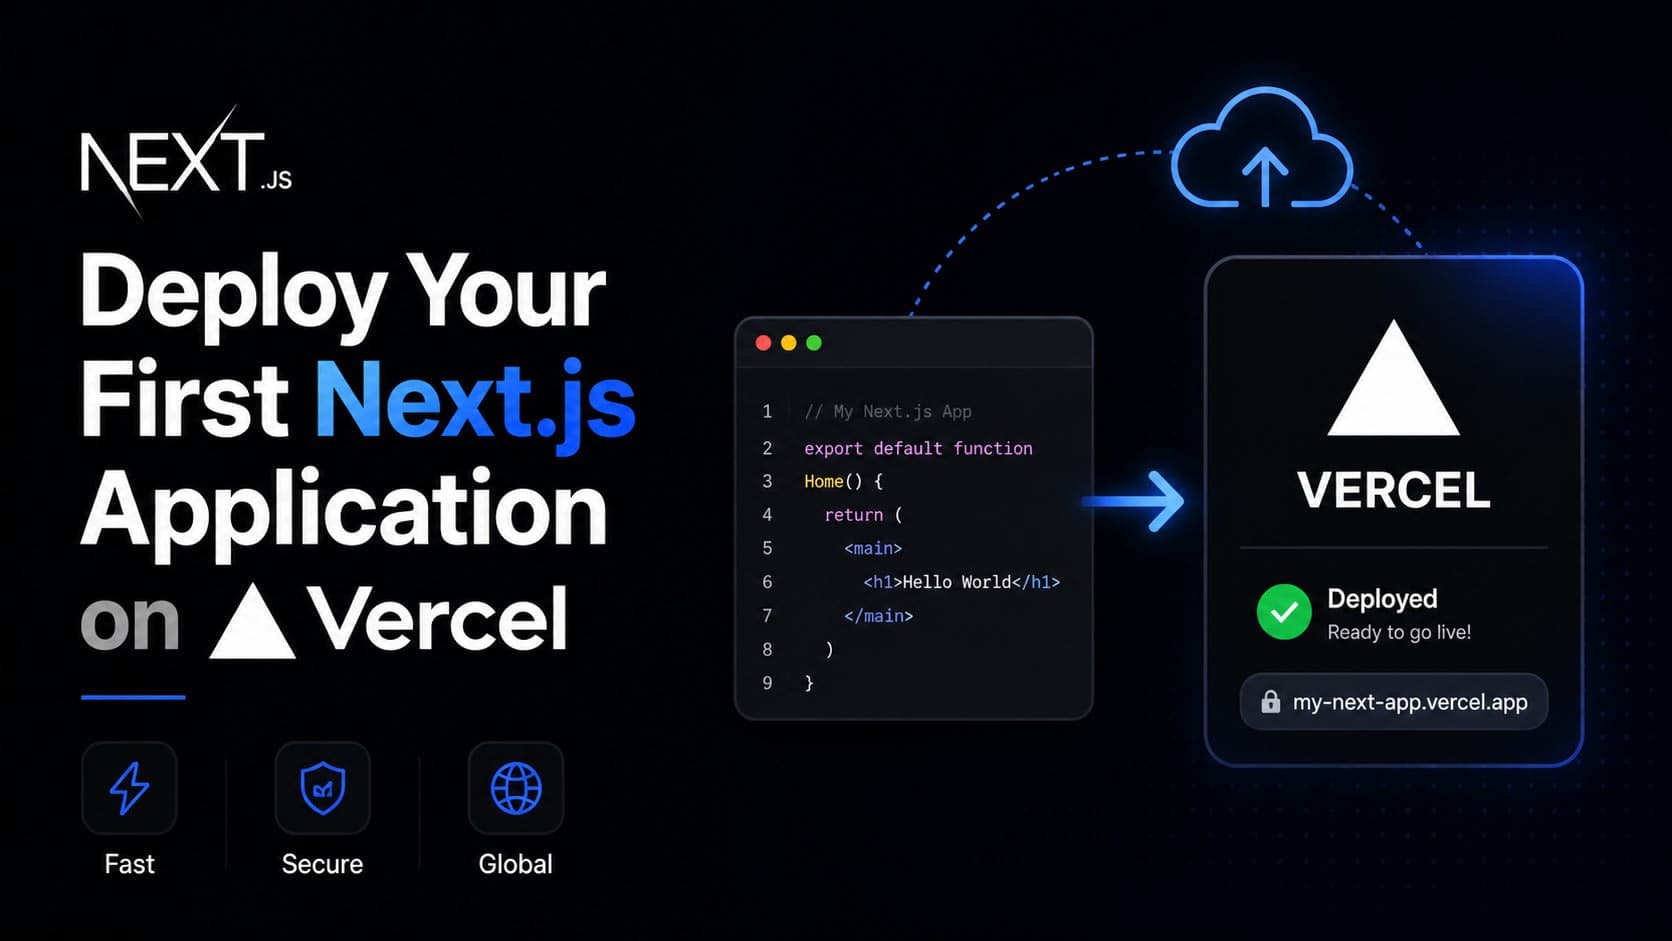
This is the guide for your first deployment: getting a real Next.js app from your machine to a live URL on Vercel, with no assumed knowledge. For exhaustive platform reference, Vercel's own documentation at vercel.com/docs is the source of truth and worth bookmarking. This guide is the practical walkthrough that sits in front of it.
What you'll need before you start:
- Node.js 20.9 or later (Next.js 16 won't install on anything older — run
node -vto check) - A free GitHub account
- A free Vercel account (you can sign up with your GitHub account directly)
Step 1: Create your Next.js app
If you're starting fresh:
npx create-next-app@latest my-app
cd my-app
npm run dev
The default setup in 2026 enables TypeScript, Tailwind CSS, ESLint, the App Router, and Turbopack (the default bundler since Next.js 16), and it now scaffolds an AGENTS.md file so AI coding assistants have project context out of the box. Visit http://localhost:3000 to confirm it's running before you touch deployment at all.
If you already have a project, just make sure it's on Next.js 16.x and running on Node 20.9+ before continuing.
Step 2: Push your project to GitHub
Vercel deploys from a git repository, so your code needs a home there first.
git init
git add .
git commit -m "Initial commit"
Create a new repository on GitHub, then push:
git remote add origin https://github.com/your-username/my-app.git
git branch -M main
git push -u origin main
Step 3: Import the project into Vercel
From the Vercel dashboard, choose Add New → Project, then select Import Git Repository. Pick your repo from the list. Vercel auto-detects Next.js and pre-fills the build command (next build) and output settings, you generally don't need to touch these for a standard app.
Step 4: Set your environment variables
This is the step most beginner guides rush past, and it's where most early bugs come from. In your project's Settings → Environment Variables, you'll add anything your app needs at runtime: API keys, database URLs, third-party service credentials.
Two distinctions matter here:
- Any variable prefixed
NEXT_PUBLIC_gets baked into the client-side JavaScript bundle at build time. Use this only for values that are genuinely safe to expose in a browser. - Everything else stays server-side only, and is read at runtime inside Server Components, Route Handlers, and
proxy.ts.
If you change a variable's value after deploying, you need to trigger a new deployment for NEXT_PUBLIC_* values to take effect, since they're compiled in, not read live.
For databases or key-value storage, note that Vercel's own KV and Postgres products are retired. You'll provision storage (Upstash Redis, Neon Postgres, and others) through Vercel Marketplace integrations, which inject the right environment variables into your project automatically when you connect them.
Step 5: Review your build and framework settings
Vercel's framework preset for Next.js handles almost everything automatically. The settings worth knowing about, even if you don't change them:
- Build Command:
next buildby default. - Output Directory: managed automatically for Next.js, you won't normally set this.
- Node.js Version: confirm this is set to a version that supports Next.js 16 (20.x or newer) under Settings → General.
If you're deploying somewhere other than Vercel later, Next.js 16.2 ships a stable Build Adapters API that gives self-hosting tools an officially supported way to hook into the build, this is worth knowing exists, even if it's not relevant to your first Vercel deploy.
Step 6: Deploy, and understand what you get
Click Deploy. You'll get a production URL on first deploy, and from then on, every push to your main branch redeploys to production automatically, while every push to any other branch generates its own preview deployment with a unique URL.
Two things worth knowing immediately:
- Preview URLs are unguessable but not authenticated by default. If a preview will ever contain real or realistic data, turn on Vercel Authentication for previews in project settings.
- You can roll back instantly to any previous deployment from the dashboard if something goes wrong, deployments are immutable, so the old one is still sitting there ready to be promoted back.
Step 7: Add a custom domain
Under Settings → Domains, add your domain and follow the DNS instructions Vercel gives you, either an A record or a CNAME, depending on whether it's a root domain or subdomain. SSL certificates are provisioned and renewed automatically; there's nothing manual to manage here.
Step 8: Know the caching basics before you scale content
Next.js 16's caching model is fully opt-in. By default, nothing is cached, every request renders fresh. If you want a page or component cached, you mark it explicitly with the use cache directive, built on Partial Prerendering. This is a deliberate change from older Next.js versions, where caching happened implicitly.
For a first deployment this mostly just means: don't be surprised that nothing is cached unless you ask for it. Once you're shipping content-heavy pages and need to think about caching strategy and invalidation properly, that's a deeper topic, our production mistakes guide covers exactly where this goes wrong at scale.
Step 9: Set up monitoring before you actually need it
Enable Web Analytics and Speed Insights from your project dashboard, both are lightweight, privacy-friendly, and built into the platform, measuring real user performance rather than synthetic benchmarks. They add negligible overhead and give you actual data on how your app performs for real visitors.
Beyond that, a build succeeding doesn't guarantee your app works, a deploy can go green while a specific page or flow is silently broken. Even a simple manual check of your critical paths after each deploy catches problems before users do.
Frequently asked questions
What Node.js version do I need? Next.js 16.x requires Node.js 20.9 or later and TypeScript 5.1 or later. Older Node versions will throw an EBADENGINE error on install.
Can I deploy a commercial project on Vercel's free plan? No. The Hobby plan is explicitly for personal, non-commercial use, with 100GB of bandwidth, 1M function invocations, 4 hours of Active CPU, and 5,000 image transformations per month. Any revenue-generating project needs the Pro plan, starting at $20 per team member per month.
Should I deploy via the Vercel CLI or by connecting GitHub? For almost everyone, connect GitHub. You get automatic deploys on push, preview URLs for every branch, and zero manual steps. The CLI (vercel deploy) is useful for quick one-off deploys or scripting, but the Git integration is the right default workflow.
Is Vercel still actively developed, or is it being shut down? It's actively developed; Next.js 16.2 and ongoing platform updates shipped throughout 2026. There's no credible indication of Vercel shutting down. Some confusion online traces back to a April 2026 security incident Vercel disclosed and handled, which is a different thing entirely from the company's viability.
What happened to Vercel KV and Vercel Postgres? Both are deprecated as first-party products. Vercel KV stores were migrated automatically to Upstash Redis; for new projects, provision storage through Vercel Marketplace integrations instead.
What's next
Once your app is live, the real work starts: the things that don't show up until you've been in production for a few weeks. We cover nine of the most common ones, updated for Next.js 16.2, in Next.js on Vercel: 9 Production Mistakes the Official Docs Won't Warn You About.
If you'd like help reviewing a Next.js deployment before or after it ships, that's the kind of work I do, get in touch via the hire me page.